Preflight
Form a balanced team and set up development on your own machine before the first exercise depends on it.
What you need personally
Check that you have all these tools:
- A seat on the course Claude Team plan for Claude Code.
- An OpenCode Go account for the default runtime models.
- A personal GitHub account.
- Software dependencies: Git,
uv(for Python). - Visual Studio Code.
- Internet access.
- Windows only: WSL2.
Build a balanced team
Aim for a team that has these skills:
- At least one person is comfortable debugging Python and HTTP APIs.
- At least one person is comfortable running a GitHub pull-request workflow and resolving conflicts.
- At least one person enjoys tests, edge cases, data, or evaluation.
- At least one person is interested in prompts, models, and tool-calling behavior.
If your team has a gap, tell a facilitator early. We can rebalance teams, provide a starter pattern, or pair you with another group for that part.
Set up development prerequisites
Windows users: install WSL2 and Git for Windows first, then run every command on this page inside WSL2 - not PowerShell. The one PowerShell block below is an escape hatch for checking a model call, not an alternative path through the setup.
- Install Claude Code and sign in using the course Team seat. The Claude desktop app is optional.
- Install OpenCode, sign in using the provided OpenCode Go API key, and verify the prescribed runtime models are available. OpenCode is a second harness with the same shape as Claude Code: same loop, same tools, different brain. Running both makes the harness/model split real, and its Go plan supplies the runtime models your dispatch agent will call.
- Install GitHub CLI, Python, and
uv; authenticate GitHub without placing credentials in the repository.

Prepare the course materials
-
Open hadr.ocelliq.com and sign in with the credentials your facilitator gave you.
-
Each of you clones the course starter and pushes it to your own new private GitHub repository. You each build your own agent; the team is your review circle, so add your teammates as collaborators.
git clone https://dl.hadr.ocelliq.com/starter.git hadr cd hadr git remote set-url origin <your-own-repository> git push -u origin master -
Now point OpenCode at it: ask OpenCode to describe the repository, then check whether its description is accurate. Its
mcp-play/folder holds the ready-made configs for playing the game by hand on Day 1. -
In your repository, install the starter and create your local configuration:
uv sync cp .env.example .env uv run hadr-runner --help -
Open
.env, replace the placeholderOPENAI_KEYwith your own OpenCode Go key, and never commit that file. -
In a separate terminal, start the pinned course simulator and leave it running:
uv run https://dl.hadr.ocelliq.com/hadr-engine.py serve --port 8000 -
Open the simulator display, then prove the starter can drive a complete episode without spending model tokens:
uv run hadr-runner stage1-basic@londone --no-llm --seed 777 -
Make one small runtime model call:
source .env
curl --fail-with-body --silent --show-error \
  "$OPENAI_BASE_URL/chat/completions" \
  -H "Authorization: Bearer $OPENAI_KEY" \
  -H "Content-Type: application/json" \
  -d "{\"model\":\"$DISPATCH_MODEL\",\"messages\":[{\"role\":\"user\",\"content\":\"Write me a poem about frogs.\"}],\"max_tokens\":1024}"
Windows PowerShell equivalent
Get-Content .env | Where-Object { $_ -match "^[^#][^=]*=" } | ForEach-Object {
  $name, $value = $_ -split "=", 2
  Set-Item -Path "Env:$name" -Value $value
}
$body = @{
  model = $env:DISPATCH_MODEL
  messages = @(@{ role = "user"; content = "Write me a poem about frogs." })
  max_tokens = 1024
} | ConvertTo-Json -Compress
curl.exe --fail-with-body --silent --show-error `
  "$($env:OPENAI_BASE_URL)/chat/completions" `
  -H "Authorization: Bearer $($env:OPENAI_KEY)" `
  -H "Content-Type: application/json" `
  --data $body
Any non-error model response passes. If a step fails, resolve it before Day 1; everyone should be able to repeat the same setup from their own clone.
Set up Claude Code
Claude Code runs in any terminal, but the course assumes it is wired into your editor and your repository: it should see what you have selected, read your type errors rather than guess at them, and be able to review a teammate’s pull request.
In the editor
- Install the Claude Code extension: search “Claude Code” in the Extensions view (
Ctrl+Shift+X), or runclaudeonce in VS Code’s integrated terminal and it installs itself. Windows users: open the project through the WSL extension, so the editor, the terminal, and.venvall sit on the same side of the boundary. - Check that Claude sees your editor. Open a file, select a few lines, and ask about “these lines”. The transcript shows
Selected N lines from <file>above your message. If that line never appears, Claude is not connected to the editor: run/ideinside Claude Code (needed whenever you started it from a terminal outside VS Code). - Install the Pyright language server. Install the Python extension, which brings Pylance, a type checker live in the editor. Then run Python: Select Interpreter from the Command Palette (
Ctrl+Shift+P) and choose./.venv/bin/pythonfrom your clone, or Pyright resolves none of the project’s imports. - Check that Pyright is running. A clean starter has zero errors, so prove the checker works by breaking something: add
x: int = "not an int"to any file and confirm it appears in the Problems panel, then delete it. Those diagnostics are what Claude Code reads when it checks its own work.
In the repository
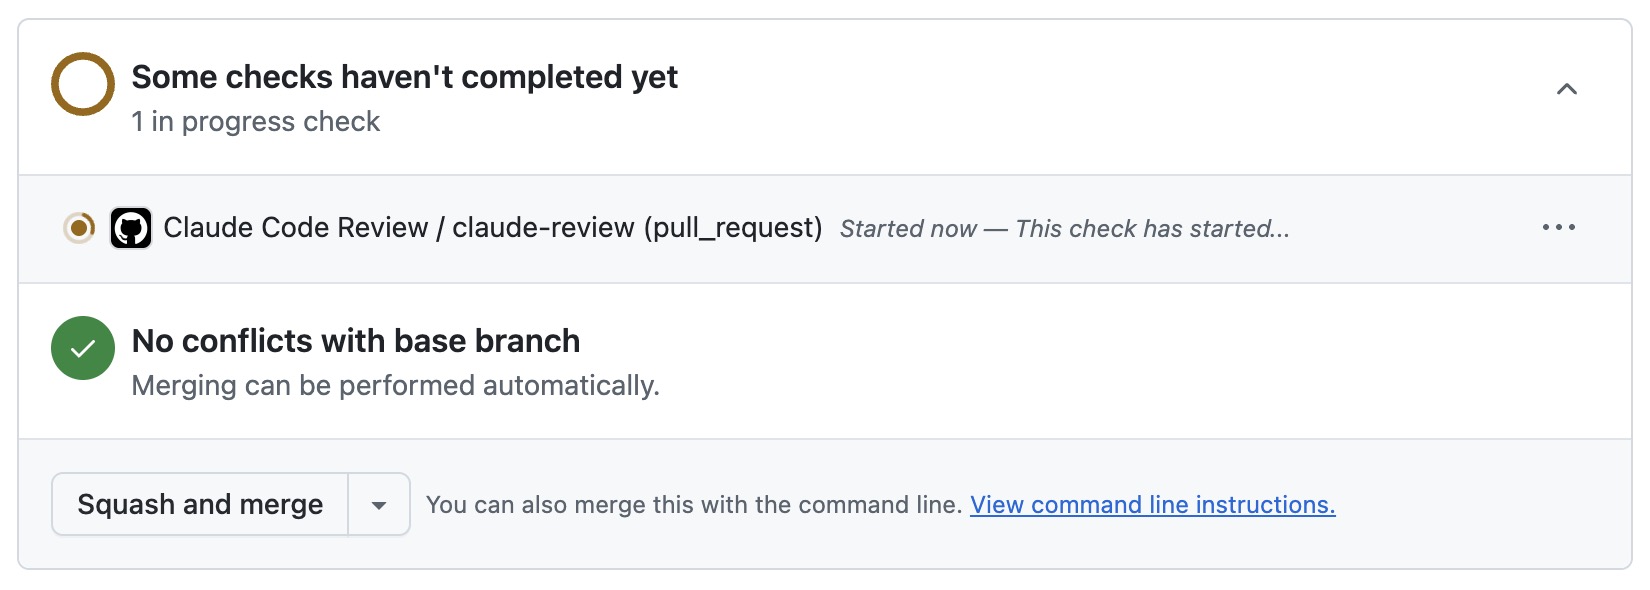
Run /install-github-app in Claude Code. It opens a pull request that installs the GitHub integration used to invoke Claude from issues and pull requests.
- Review and merge the setup pull request before trying to use the integration.
- Mention
@claudein a test pull request and confirm that it can read the conversation and leave a review. - Use the app for review; you still decide what to change, and its review never stands in for a teammate’s approval.
- Install it in every repository you work in, including each teammate’s.
Then protect master in your own repository: open Settings > Rules > Rulesets (or Settings > Branches for classic protection), target master, and require a pull request with at least one approving review before merging. This is what stops “a teammate approves before you merge” from being an honour system.
Model and effort
/modelselects the model. The available Claude family runs from Fable through Opus, Sonnet, and Haiku in descending capability and cost.- Leave the context-window option at
[1m]when it is available. /model opusplanuses Opus for planning and Sonnet for execution to reduce token use.
- Leave the context-window option at
/effortselects how much thinking the model does. A useful starting point is Fable athighor Opus atxhigh./advisorlets the working model consult an equal or more capable model. One option is to work with Opus and use Fable as the advisor.
Done when
- Everyone can clone the repository and run the same smoke test.
- No secret or operational data appears in files, logs, shell history shared with the group, or screenshots.
- Branch protection and the
@claudereview integration are active.
How to work during the course
You will each be building your own agent in your own repository.
However, your team is crucial:
- Any pull requests to your repository should be reviewed and approved by another team member.
- Your team will help you with brainstorming and working through the more complex parts of this task.
- Some larger tasks (especially benchmarking) will be split amongst you.
Use the team-balance list above to spread the work, not to create silos. Rotate who leads as the course moves from intake to reconciliation, dispatch, and evals.